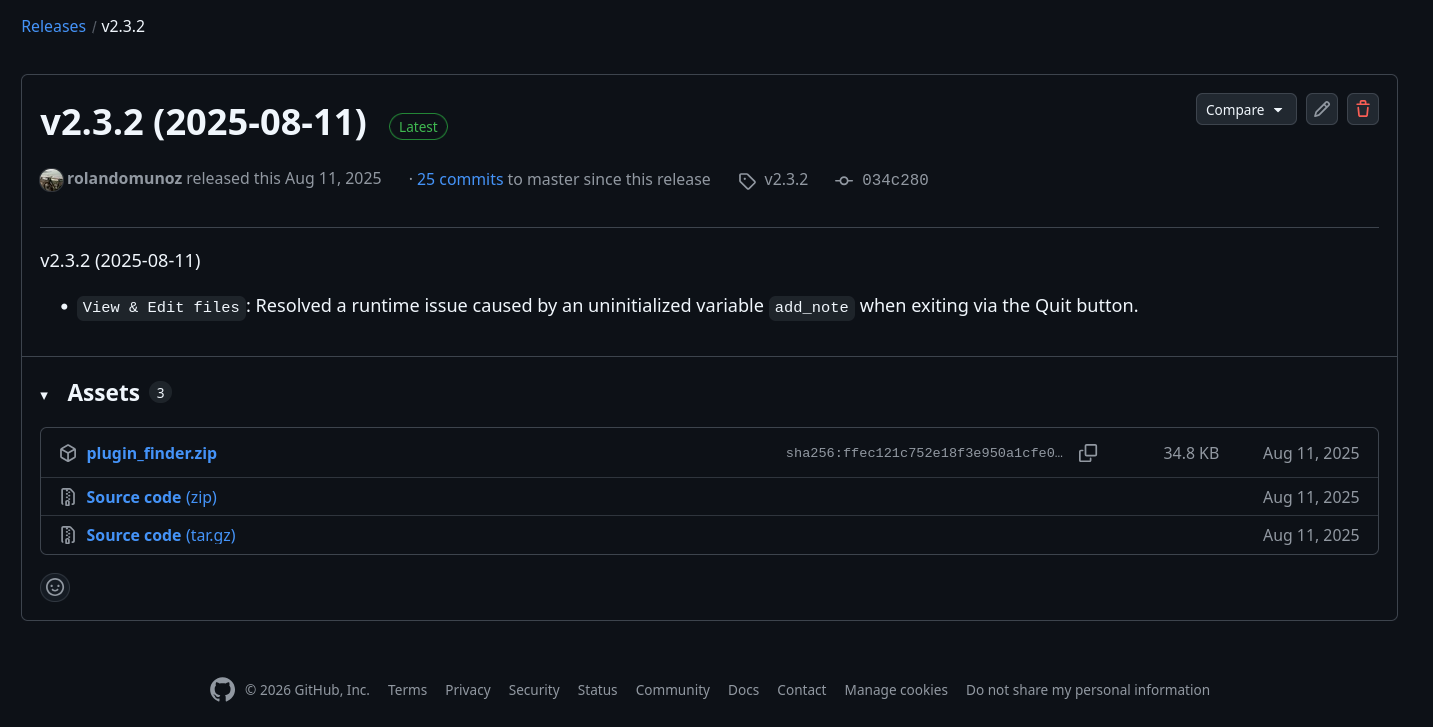
Step 1. Get the latest version of the plug-in at the following link.
On the website, navigate to the Assets section and download the ZIP
file plugin_finder.zip.
Step 2. Unzip the file to extract the plugin folder. Copy this folder into the
Praat preferences folder. This is a directory created after you run
Praat for the first time on your computer and its location depends on
your operating system.
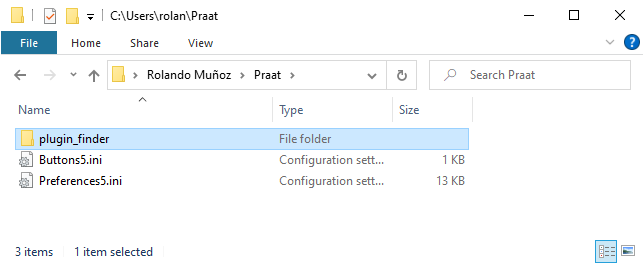
On Windows, the preference folder is located at
C:\Users\[username]\Praat. In the Fig. 2,
the plug-in folder has been copied to that directory.
Fig. 2 The Praat Preferences directory on Windows 10
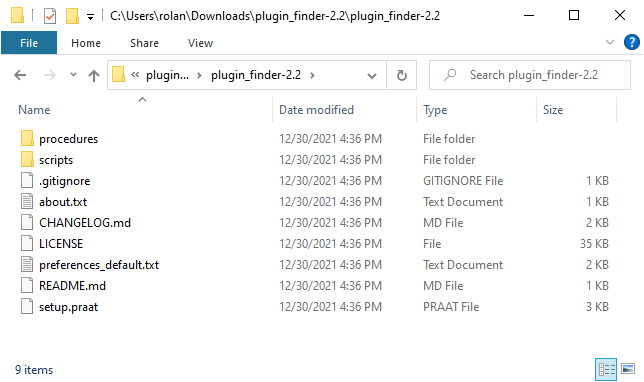
Within the plug-in folder you should have the following content.
On Mac, the preference folder is located at
/Users/yourusername/Library/Preferences/PraatPrefs/.
Note
The Library folder is hidden by default on macOS. To
find it, open Finder, click the Go menu while holding
the Option (Alt) key, and select Library.
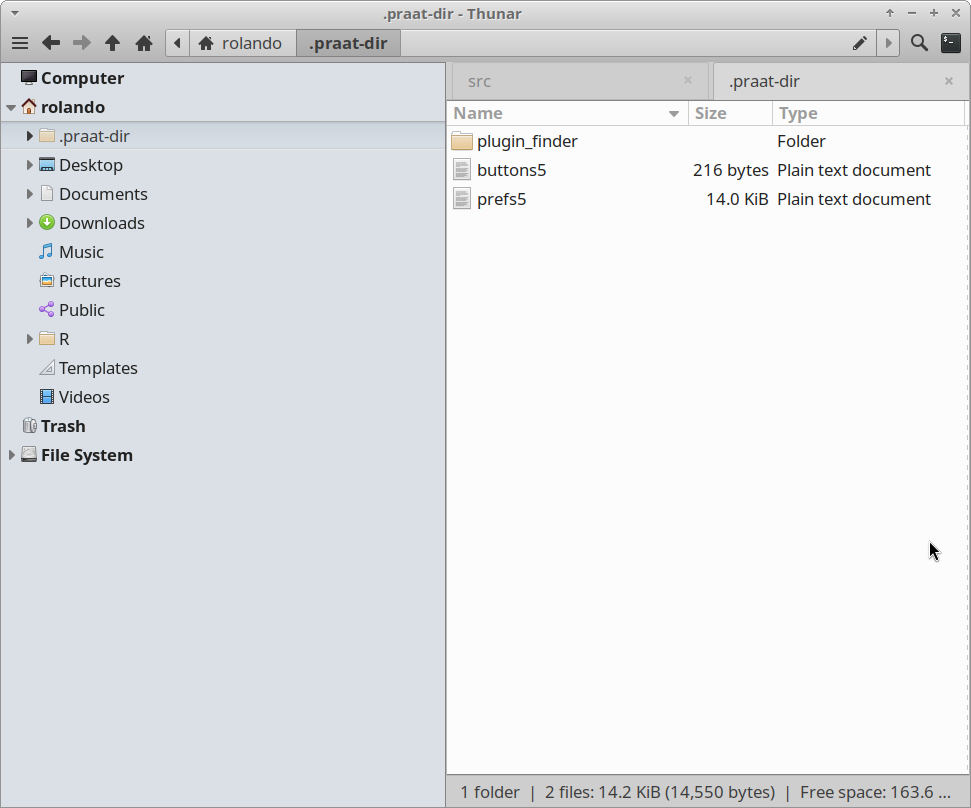
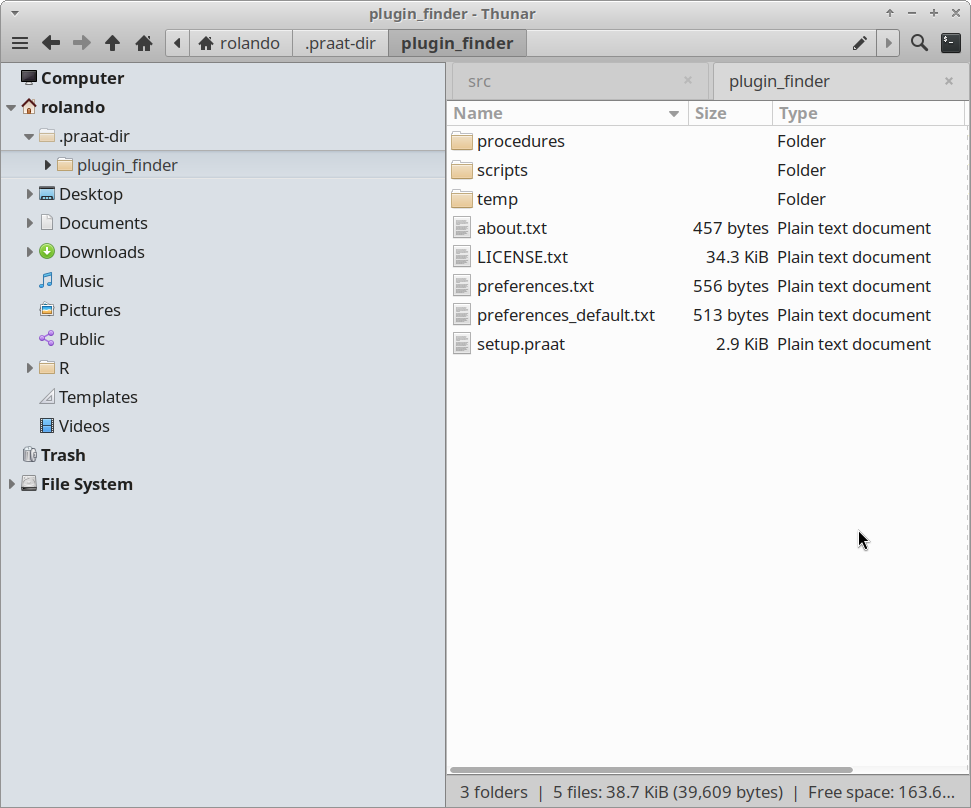
On Linux, the preference folder it is located at
/home/yourusername/.praat-dir/. In the
Fig. 4, the plug-in folder has
already been copied to that directory.
Fig. 4 The Praat Preferences directory on Linux (Debian 13)
Within the plug-in folder you should have the following content.
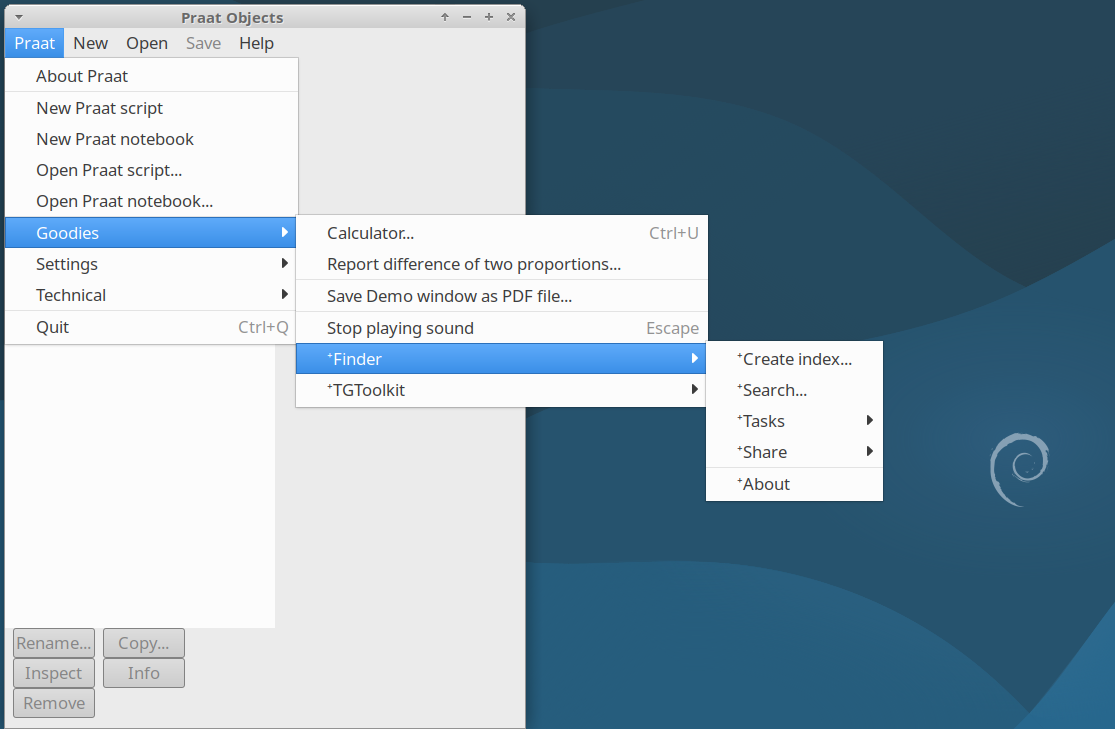
Step 3. Finally, check that Praat can recognize the plug-in. Start Praat and
go to Praat>Goodies in the menu bar. There, you should
be able to see the Finder submenu as shown in Fig. 6.
The location of the Praat preferences folder could change
in Praat 7.xx. Always keep an eye on the section
preferences folder in the Praat manual to see where it is
located.