View and Edit
Once a search is performed, you can navigate through the results using the View & Edit files command. This command displays the labels in the TextGridEditor one by one, along with their corresponding audio file. A navigation panel allows you to move backward and forward between occurrences. You can also make changes to the TextGrid files and save them directly from the panel.
To start, ensure you have completed the Create an index and Search steps. Then, go to the View & Edit files under the submenu Praat > Goodies > Finder > Tasks. A dialog box will appear.
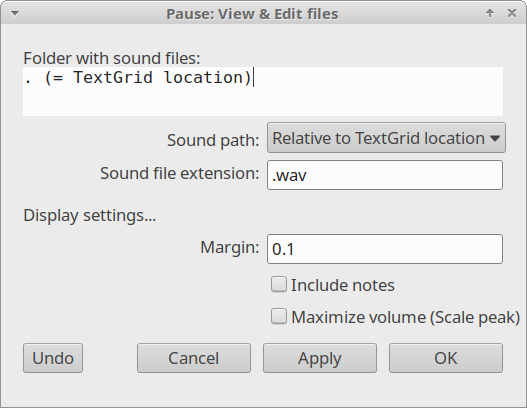
Fig. 17 The View & Edit files dialog
The dialog asks for the location of the audio files. Since audio and TextGrid files are commonly stored in the same directory, the default settings can usually be left unchanged. Please note that both the TextGrid and audio files must have identical filenames.
After clicking OK, you will see the results one by one, as shown in Fig. 18. In the figure, the TextGridEditor displays the audio and TextGrid of the results. The matched label is automatically centered and selected in the Editor. Simultaneously, a Navigation (Pause) window appears. The Item field shows that you are viewing result 7 of 359. The Skip button allows you to move to the next occurrence without saving changes; the next item shown will be the one indicated in the Go to item field (in this case, item 8). The Save button records your changes to the TextGrid before moving to the next item. Use Undo to revert any accidental changes, or Quit to close the session
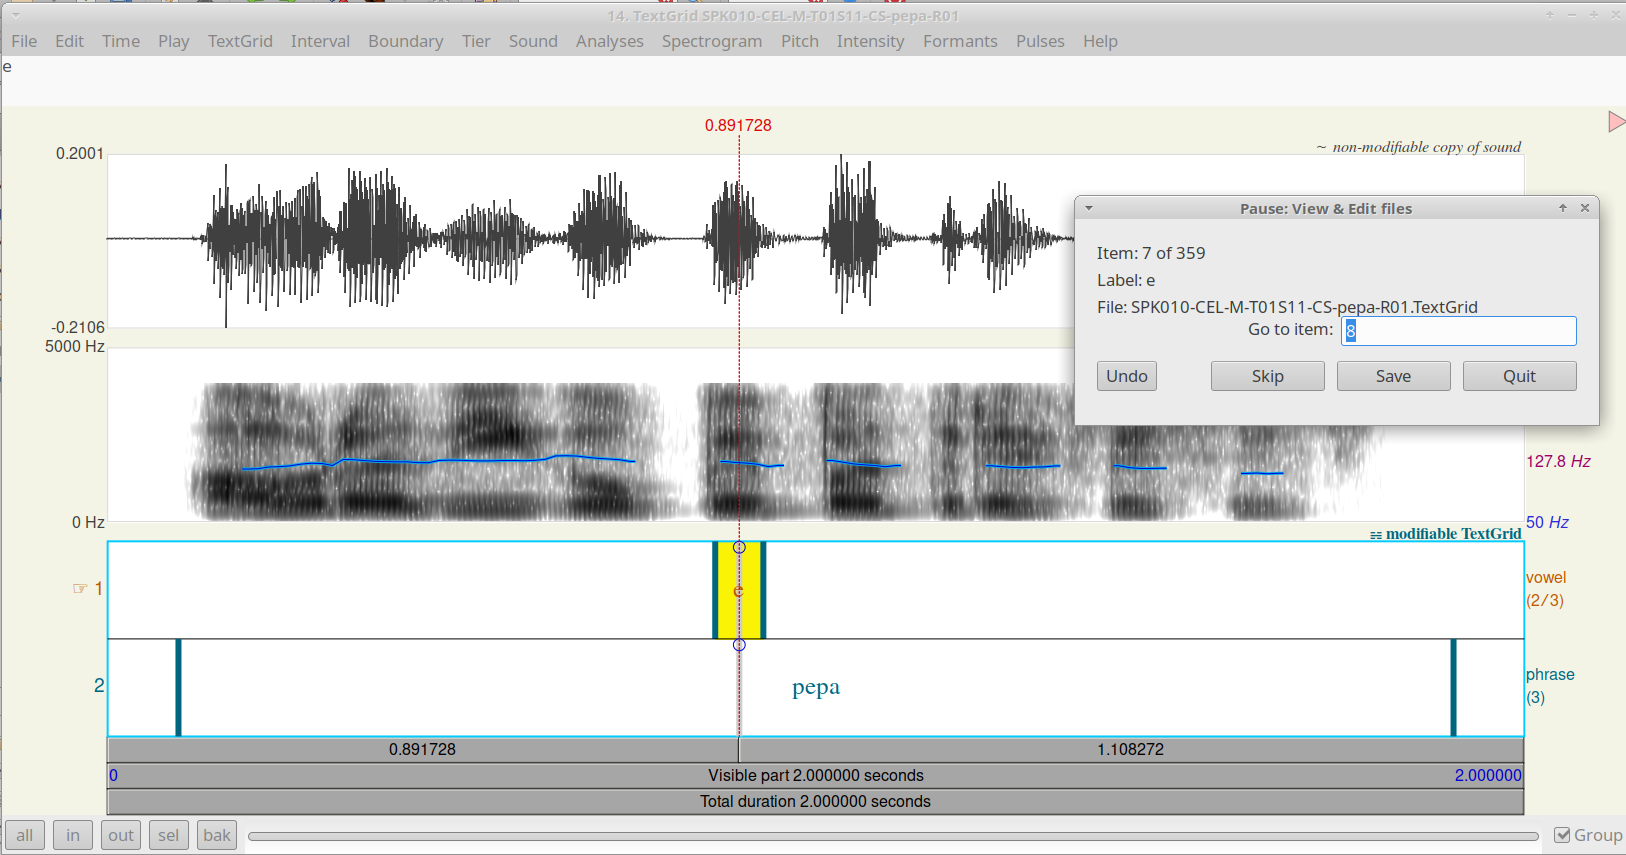
Fig. 18 Example