Extracting files
Once you carry out a search, you can extract the sound and the
transcribed segments corresponding to the found items.
Each extracted item will be saved as a .TextGrid and
and .wav file.
Extractig words as files
In this section, we will split a set of sound files along with their TextGrid using the Extract files... command.
For this example, we will use the recording_sessions folder of the example files. This folder contains the TextGrid and sound files in the Fig. 19. As you can see, both type of files come in pairs.
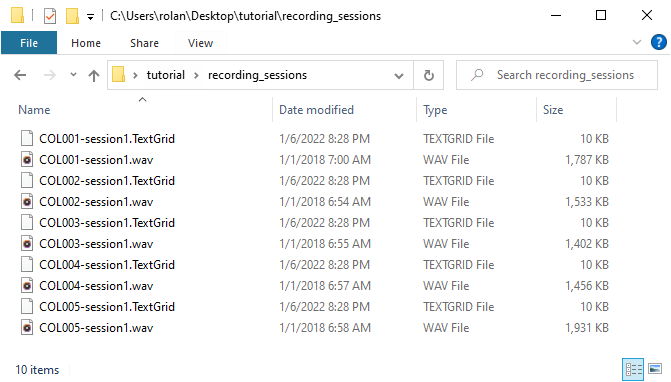
Fig. 19 A screenshot of the folder recording sessions
For each file pair, the sound file contains a list of spanish words pronounced twice by one unique speaker. The TextGrid provides the transcription for the recording. As you can note in Fig. 20, the TextGrid has one tier for words and other for segments.
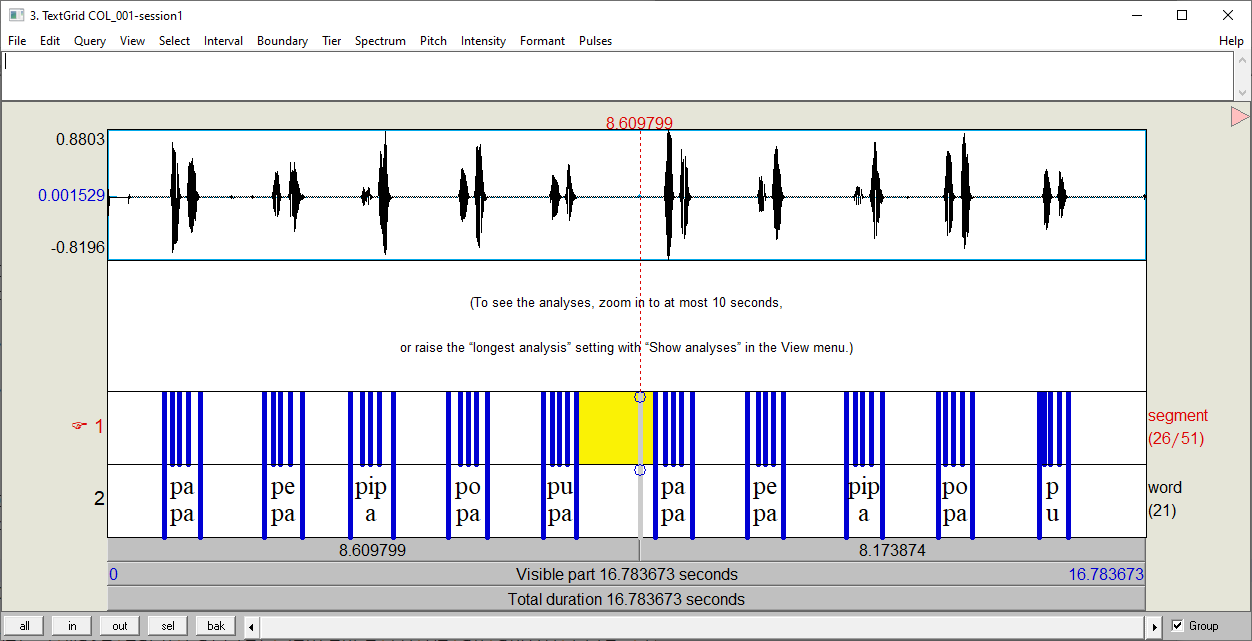
Fig. 20 Sound file and its TextGrid in Praat for one speaker
Given all this description, let’s extract and save as new files all the
transcribed items in the tier word in the files of the
recording_sessions folder.
Step 1: Index the TextGrid files in the recording sessions
folder (see Step 1: Index TextGrids for more information).

Fig. 21 Indexing the TextGrid files in the recording_sessions folder.
Step 2: Find all the transcribed items in the tier word.
To do it, open the search window and copy the options in
Fig. 22 (See Step 2: Search for more
information).
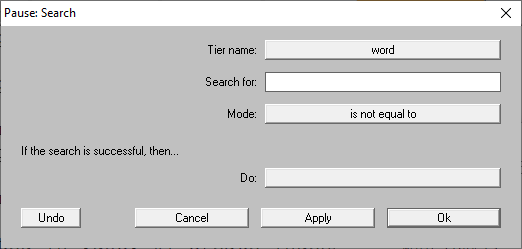
Fig. 22 Indexing all TextGrid files in the recording_sessions folder.
Step 3: In the plug-in menu, go to Finder > Tasks and click on
Extract files... A window similar to
Fig. 23 will pop up.

Fig. 23 Extract files window.
As you can notice, there are many options! Don’t worry. At this moment,
only focus on the Save in field. Complete this field with the
directory where the extracted files will be stored in you machine.
In my case, I filled it up with the path
C:\Users\rolan\Desktop\words. Finally, press on Ok.
Take a look to the Save in directory. The results should look like in
Fig. 24.
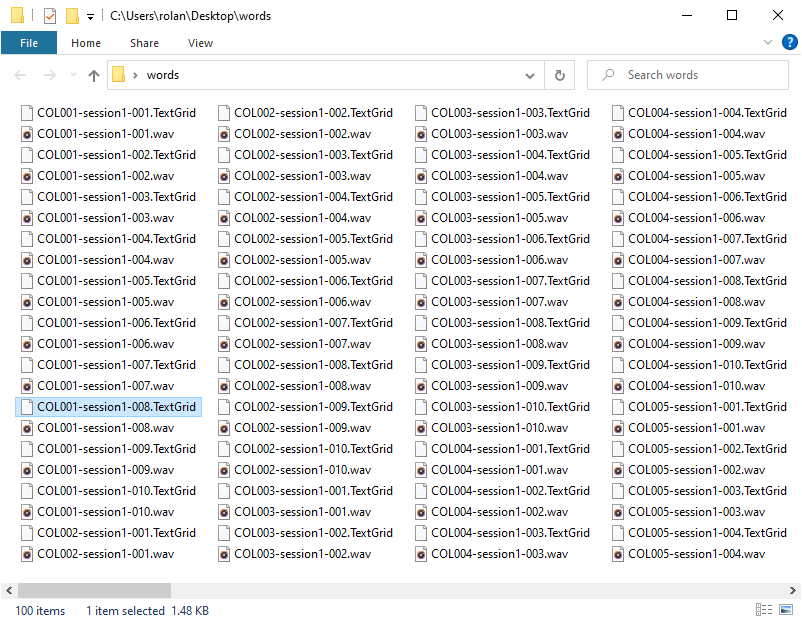
Fig. 24 The extracted files in the destiny directory.
In total, there are 100 files (50 .TextGrids and 50 .wav files). Each
file pair contains only a word item as in Fig. 25
.
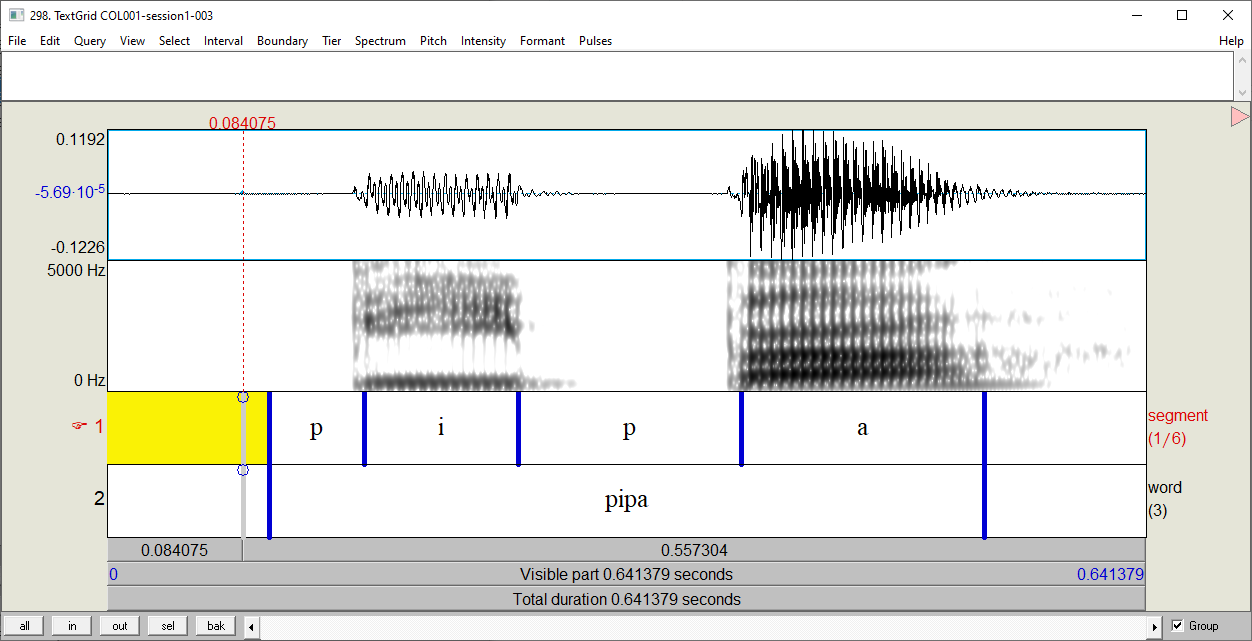
Fig. 25 An example of a extracted item
Setting filenames
You can name the extracted files in different ways using the Extract
files command. In the command window, go to the the field Filename
format (See Fig. 23). This field is filled up
by default as [Filename]-[DuplicateID]. The words in brackets are
special, they are tags. The tag [Filename] indicates that each resulting
file will take the name of the file where it was extracted. On the other
hand, [DuplicateID] is a tag that assures that the files with the same
name do not overwrite. This is carry out by adding an occurrence number to
the new files at the moment they are created. The default number is 001
and it is assigned to the first occurrence of a file when it is saved in the
destiny directory. If the name already exists, the command will increase the
occurrence number to 002 and so on until the filename is not repeated in
the destiny directory. Finally, note that the tags are separated by a -
character. In the Extract files command, anything that is not a tag will
be copy as it is to the resulting filename.
Now that you know how the setting [filename]-[DuplicateID] works, take a look back to the Fig. 24 and make sense of the filenames. Here is a little explanation.
[Filename] |
String |
[DuplicateID] |
Output |
|---|---|---|---|
COL002-session1 |
- |
001 |
COL002-session1-001.wav |
COL002-session1 |
- |
002 |
COL002-session1-002.wav |
COL002-session1 |
- |
003 |
COL002-session1-003.wav |
COL002-session1 |
- |
004 |
COL002-session1-004.wav |
COL002-session1 |
- |
005 |
COL002-session1-005.wav |
You can use the text in the matched items as filenames. Go to the Format field and write [Text]-[DuplicateID]. In the Fig. 26, there is a screenshot of the results.
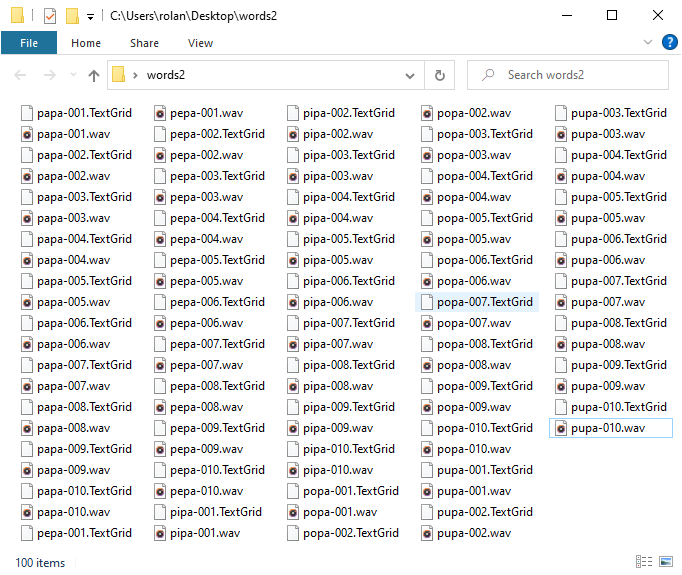
Fig. 26 The extracted files in the destiny directory.
Now, we can know which files contain which words. The only issue that arises is that we cannot distinguish which file correspond to which speaker. There are a couple of ways to solve this issue. My favourite one is to reorganize the extracted files into subfolders. Given the fact that there is one source file per speaker, we can hack the File format field and fill it up with [Filename]/[Text]-[DuplicateID]. Here, the slash / separates the filename in two parts. The right part contains the name of the filenames and the left corresponds to the subfolders where the files will be stored. When you run the command, you will get a result as in Fig. 27 where each subfolder contains a set of files as in Fig. 28.
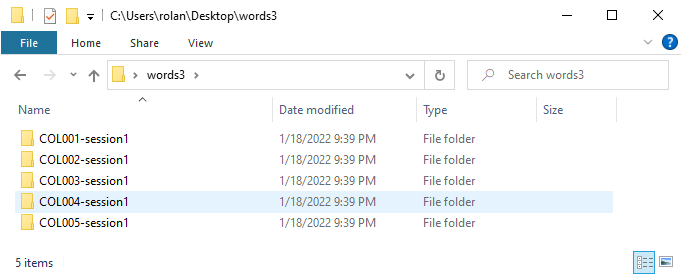
Fig. 27 The extracted files in the destiny directory.
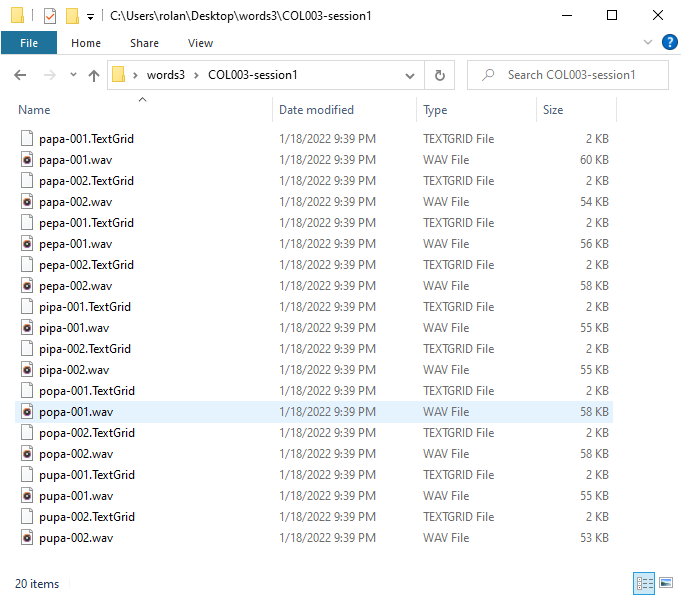
Fig. 28 The extracted files in the destiny directory.